

A patch can be the right tool and still disappoint if it lands in the wrong spot. That is why a good pain relief patch placement guide matters. Placement affects contact, comfort, and how well the patch targets the area that actually hurts - which is not always the exact point where you feel pain.
Many people press a patch directly onto the most painful spot and hope for the best. Sometimes that works. Just as often, pain spreads, radiates, or starts in nearby tissue, which means the best placement is slightly above, below, or around the sore area rather than right on top of it. Understanding that difference can make patch-based relief feel much more predictable.
Start by identifying the pain pattern, not just the pain point. Is the discomfort concentrated in one small spot, like the outer knee or the base of the thumb? Or is it broader, like lower back tension, shoulder tightness, or menstrual cramping? A small, focused area usually calls for direct placement over or immediately next to the sore spot. A larger or more diffuse area often responds better when the patch covers the center of the discomfort or spans the area where pain travels.
It also helps to think about movement. If you place a patch over a joint crease, the constant bending may reduce adhesion or make it feel awkward. Moving it slightly to a flatter, more stable area can improve wear time without losing effectiveness. Comfort matters here because a patch you keep adjusting is a patch that is not doing its job well.
Skin prep is simple but easy to overlook. Clean, dry skin gives you the best chance of good contact. Oils, lotions, sweat, and body hair can all interfere with how well a patch stays in place. If the patch lifts at the edges, results may be less consistent, especially during daily activity.
Lower back pain is one of the most common reasons people try a patch, and it is also one of the easiest places to misjudge. If your pain is centered on one side, place the patch just to the left or right of the spine over the tight or irritated area. If the discomfort spreads across the beltline, centering the patch over the broadest area of tension usually makes more sense than chasing one hot spot.
Avoid placing anything directly on the spine itself if the patch is better suited to soft tissue contact on either side. For pain that wraps into the hip or upper glute, shifting placement slightly outward may feel more targeted than keeping everything near the middle of the back.
Neck and shoulder tension often feels like one problem, but it usually involves several connected areas. If the top of the shoulder feels tight, place the patch over the upper trapezius muscle - the slope between the neck and the shoulder. For pain that climbs into the neck, a second placement zone is the base of the neck where tension tends to collect.
If headaches seem to start from neck strain, placing the patch near the upper shoulder or lower neck may help more than putting it near the head. That is a good example of treating the source instead of the loudest symptom.
With knee pain, the best placement depends on whether the pain is in the front, sides, or back of the joint. Front-of-knee pain often responds to placement above, below, or around the kneecap rather than directly over the moving center of the joint. Side pain may be better addressed with the patch along the inner or outer edge where tenderness is more specific.
For the back of the knee, comfort becomes the trade-off. A patch in the crease may bunch during walking or sitting, so placing it just above or below that fold is often more practical.
Smaller joints need more precision. Tennis elbow, for example, usually feels tender on the outer elbow, but the irritated tissue may extend into the upper forearm. In that case, a patch placed just below the elbow on the muscle can feel better than one placed directly over the bony point.
Wrist and hand pain can be trickier because movement is constant. Keep the patch on the flatter area nearest the pain source, and avoid wrapping onto highly mobile creases when possible.
Head pain is not always best treated on the forehead or temples. If tension headaches begin in the neck or shoulders, starting there may be more effective. For temple-specific discomfort or jaw-related headache patterns, placement near the side of the face or upper neck may be more relevant.
This is an area where less is often more. Small shifts in position can change comfort significantly, especially around sensitive skin.
For cramps, placement is usually over the lower abdomen where the pain is centered. Some people also feel relief when targeting the lower back, especially if cramping radiates through the pelvis and into the back. If front placement feels too sensitive during the worst part of a cycle, the lower back can be a practical alternative.
Jaw pain is a good reminder that pain can be local and referred at the same time. If the joint near the ear is sore, the patch may work best just over or slightly in front of that area. If clenching has tightened the jaw muscles, the better target may be the cheek or the side of the face where the muscle feels hard and tender.
Gentle placement matters here. You want close contact without putting pressure on an already irritated area.
The biggest mistake is assuming pain always lives exactly where you feel it most. Referred pain is common in the back, shoulders, jaw, and even knees. If your first attempt does not feel right, that does not always mean the patch is wrong. It may mean the location needs adjustment.
Another common issue is choosing symmetry when the pain is clearly one-sided. A centered patch can make sense for broad discomfort, but unilateral pain often responds better to more specific placement.
Then there is the temptation to keep moving the patch every few minutes. Give a placement a fair test unless it is clearly uncomfortable. Constant repositioning makes it harder to tell what is helping.
A practical pain relief patch placement guide should leave room for trial and adjustment. Bodies are not identical, and neither are pain patterns. If the first placement does not feel effective, move in small increments rather than making a dramatic shift. One to two inches higher, lower, or wider can make a noticeable difference.
Pay attention to whether your pain is muscular, joint-related, or nerve-like. Muscle soreness often responds best over the bulk of the muscle. Joint pain may respond better around the joint margins where irritation is felt most clearly. Nerve discomfort can be less straightforward and may require testing the path the pain follows rather than the place it starts.
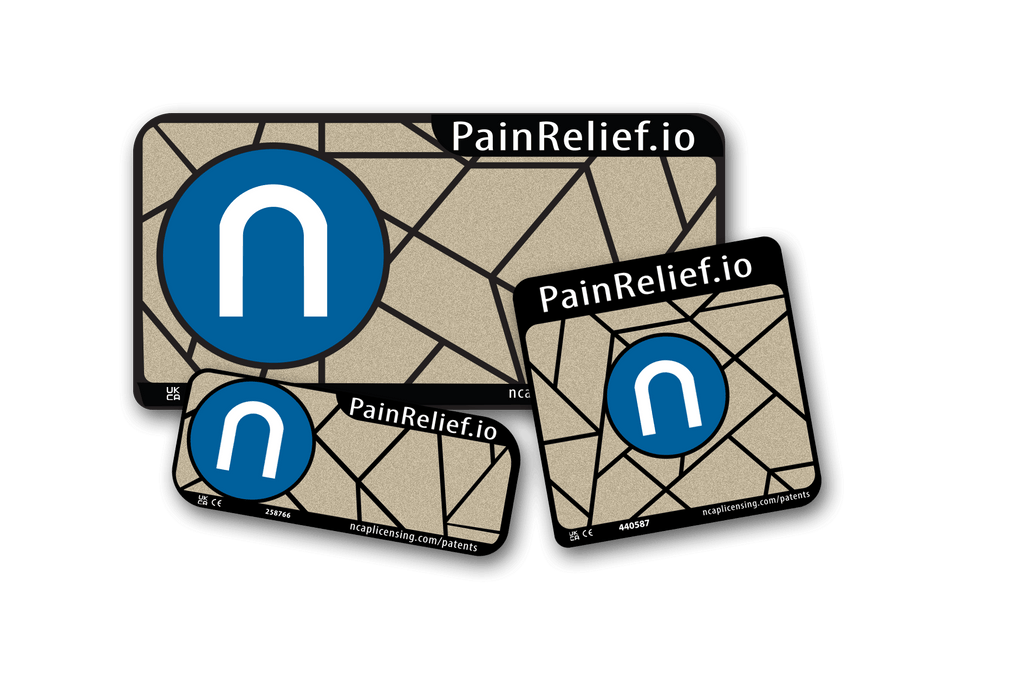
This is one reason reusable, wearable options appeal to people looking for drug-free relief. They allow you to experiment with body-area placement without committing to a single-use product every time. PainRelief.io® builds around that real-world need, with sizes designed for different body areas instead of a one-size-fits-all approach.
Even ideal placement can fail if the patch does not match the size or shape of the area. A larger patch can be useful for broad lower back pain or shoulder tension, while smaller formats make more sense for temples, jaw pain, or focused joint discomfort. Bigger is not automatically better. Coverage helps when pain is diffuse, but precision helps when pain is localized.
You also want placement that works with your day. A patch that sits comfortably while you walk, work, or sleep is easier to use consistently. For many people, consistency is what turns occasional relief into something they can actually rely on.
If pain is severe, sudden, associated with swelling, numbness, weakness, fever, or a recent injury, patch placement should not be the main decision. Those situations may need medical evaluation first. A patch can be part of a comfort strategy, but it should not delay care when symptoms suggest something more serious.
For recurring everyday pain, though, placement is one of the simplest ways to improve your experience. A little more attention to the pattern, the body area, and the way pain moves can make a patch feel less like a gamble and more like a useful tool.
The best placement is usually the one that matches your actual pain pattern, stays comfortable through normal movement, and gives you enough consistency to learn what works for your body. That is where relief starts to feel less temporary and a lot more practical.